Help Resources
Models
At the heart of XPOR we have the purpose of "humanising" the development of software. XPOR "Models" achieve this. Models allow you to sketch out a system - the things in that system and how they relate to each other. As you sketch, XPOR builds it for you.
This Model is your system - all of the data in your Application is organised with this. This visual method of building your system architecture means you no longer need to produce significant volumes of documentation, either for development or archive purposes. The XPOR Model shows you exactly how you built your system and enables speedy overviewing of how things work.
What is a Model?
In XPOR, all of the different Object Types are connected, through "Associations". So, if you were to look at a brand new installation of XPOR, you would see all of the "core" Object Types connected to each other, something like;
... which is far too complicated to be any use as a design document! In fact this just gets more complicated as you add in your own custom Object Types.
Models are therefore firstly intended to provide you with the ability to select Object Types from XPOR that you are interested in. Add them to a blank Model and see how they are connected (if at all). We consider them as a type of "snapshot" onto the overall system that has been built with XPOR.
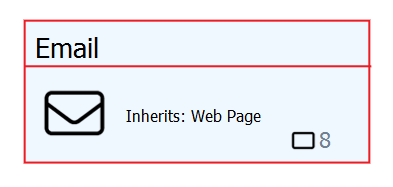
For example, the Model shown below is simply a collection of Core Object Types concerning email;
XPOR Models also enables you to BUILD a system using this method.
You can use the Model functions either in the top Toolbar, the right click Context Menu and the RH column that opens in response to the Context menu.
Creating a New Model
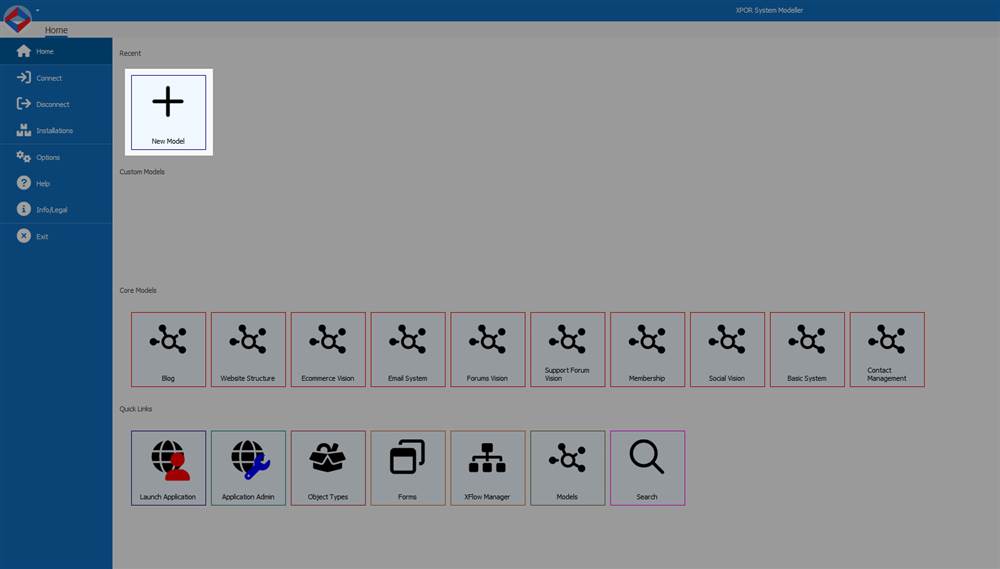
To create a new Model click "Add Model" on the Modeller Start Page;
From there you can give your Model a Name and press "Save and Close";
On this blank Model you will see the list of available Object Types on the Right Hand Side of the pane, which are ordered by their categories. Click on a category title to open the Object Types stored under that Category. Alternatively uses the Search box to find an Object Type you want to add to the Model.
Click the Selected Object Type and confirm you want to Add to Model. This will place the first Object Type on your Model. It looks a little odd on its' own;
Add all of the Object Types you want to display on the Model and arrange them as you feel fit and click Save.
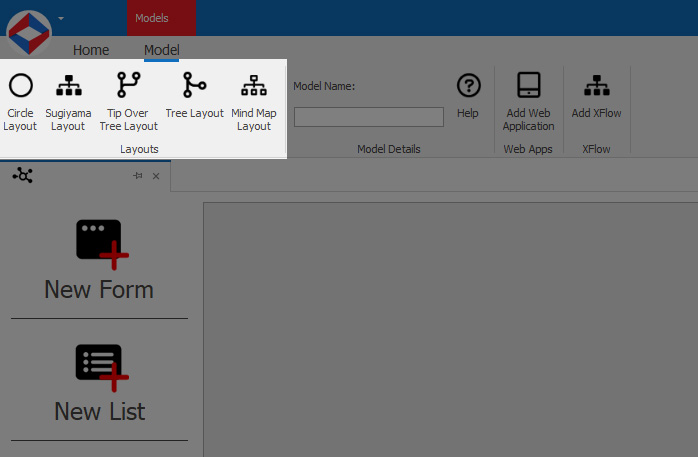
Models will also organise your layout automatically in predefined layouts. They are, Circle, Sugiyama, Tip Over Tree, Tree and Mind Map;
Creating a brand New Object Type
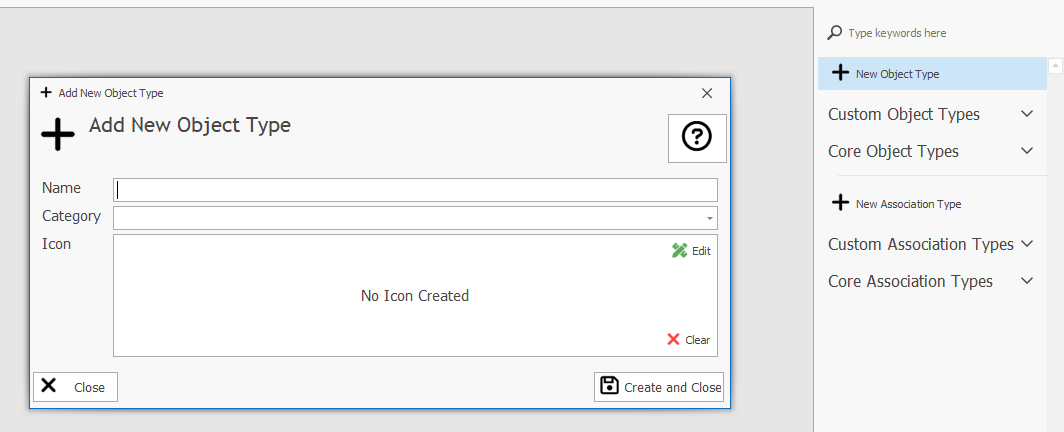
It is possible to create your entire system architecture, using Models. So far we have added Core Object Types to the Model. But, on the Right Hand Side, you can also add a New Object Type. Clicking the "+ New Object Type" opens a form to give the new Object Type a Name, Category and an Icon;
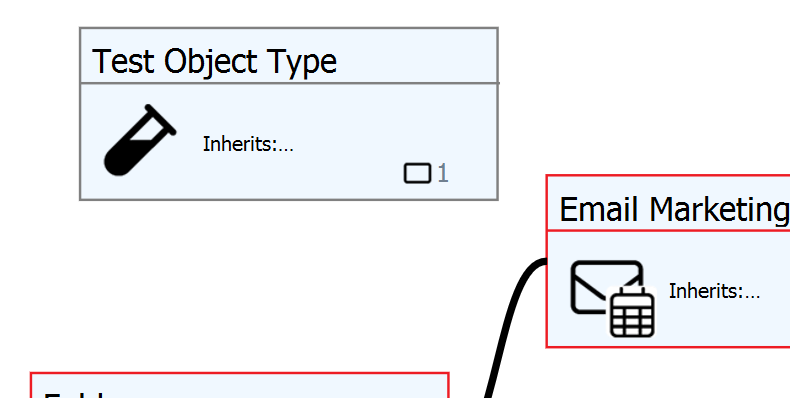
Completing this form will create the Object Type and place it on the Model - outlined in Grey;
In order to edit this new Object Type and add in the required Properties, double click it on the Model sketch. This will open the standard Object Type editor form - and follow the instructions for creating new Object Types the "standard" way.
When you Build the new Object Type (from the Top Toolbar menu on the Object Type editor form) and return to the Model, you will see that the Object Type is now bordered in BLUE;
Connecting Object Types
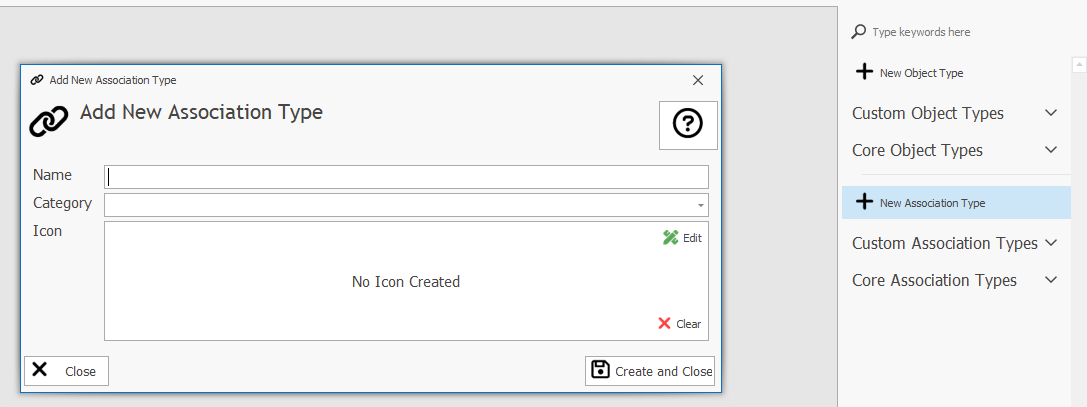
You can now "Associate" the new Object Type to other Object Types in your Model. To do, you can either find an existing association in the Right Hand menu OR create a new Association Type in the same location with the "+ New Association Type" button;
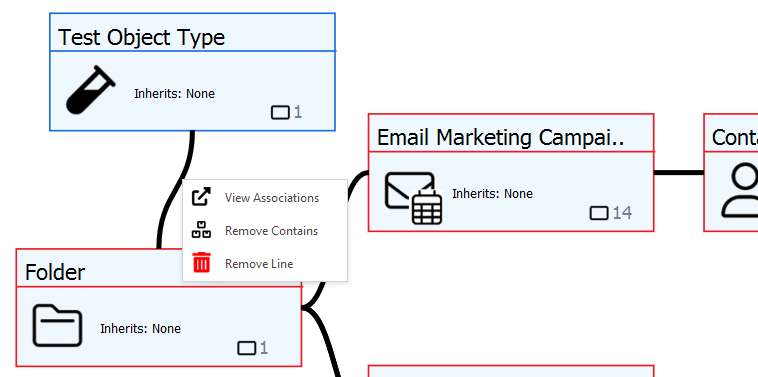
When you have selected the Association Type you want, you can click on the 2 Object Types that you want to Associate - in this example we are going to make the Object Type "Folder" can "Contain" the Object Type "Test Object Type".
If you are not happy with the Association you have just made, right click the Association Line and select "Remove Contains";


