
Help Resources
Optimising images for web pages
Like many other content editing systems for websites, XPOR allows you to upload images to display them on your web pages. In addition it also allows you to edit them so they best fit your website.
A common feature of content editing systems on websites is the Image Upload facility - an ability to upload pictures to your website. XPOR enables this, together with some "in-line" processing of images to get them to be the correct "size" for the place you are using them.
For example, an image uploaded from your camera may be 12 Mb and a large "physical" size. But the location you want the image on your web page is small - and you want the page to be fast. Upload the image and then specifiy the size you want on the web page - XPOR will automatically generate a new image, scaled as you require - smaller and faster!
Setting the size of an Image
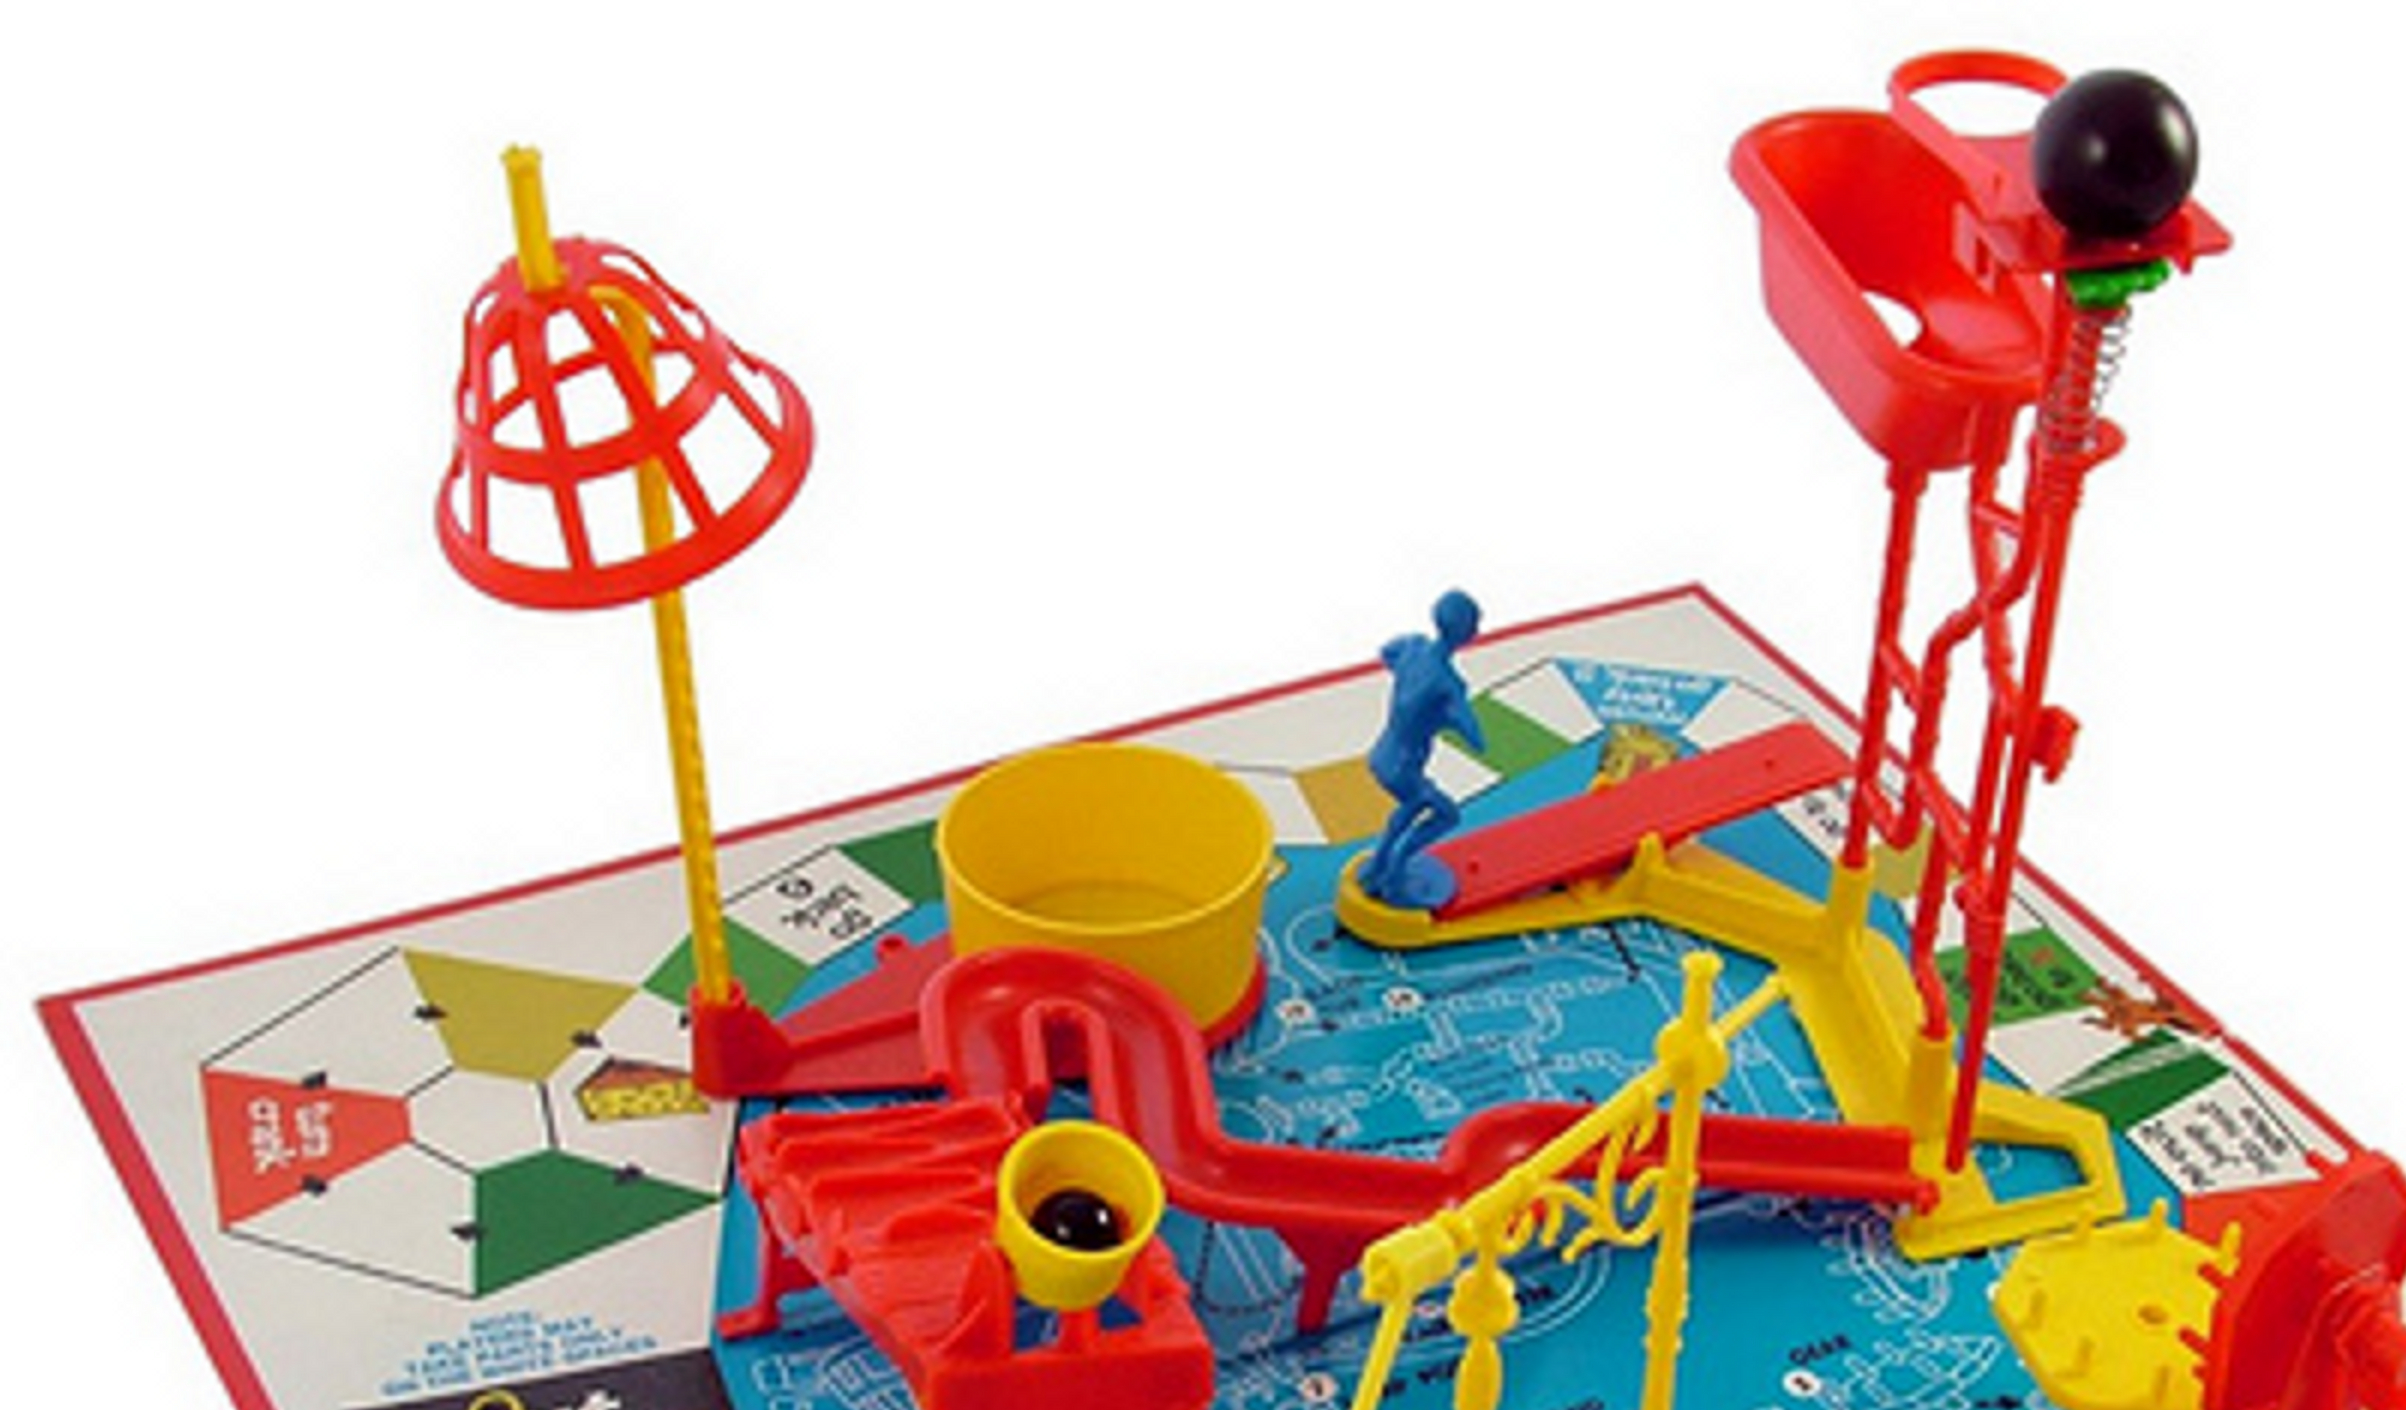
When adding an image to a web page the administrator should think about the size that this "raw" image is and should then consider what size they want it to appear on the web page. For example, the picture below has been picture taken by a camera. In iots' "raw" state it 3000 by 3000 pixels, with several Mb of memory and a very high resolution (dots per inch).
There are three ways of managing the size of the image being handled by XPOR.
Pre-processing the image - before uploading
But the image on the web page only needs to occupy 200 by 200 and be of 96 dpi – a few tens of kB.
You can achieve this by first pre-processing the image with an image editor program (we use Gimp). Alternatively XPOR can auto-process the image for you, once it has been uploaded to the website.
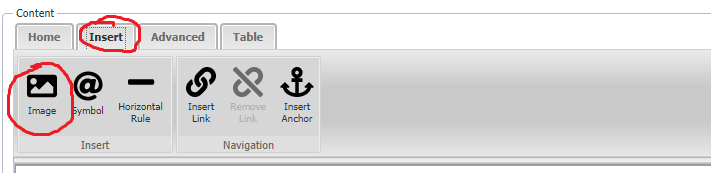
Using the HTML editor / Image Upload functions
The addition of images to a web page can be achieved through the use of the HTML Atom editor. This has an Insert Image function;
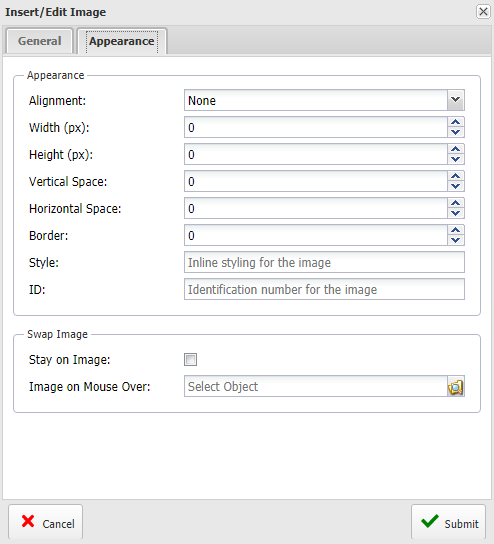
Clicking the tool will open the Insert / Edit Image form, which is provided with all the available image upload and sizing tools normally required, including the image Width and Height. Using these settings will automatically scale the source image to the required dimensions, saving a modified iamge file on the server matching those dimensions;
XPOR Auto-Processing of Images with HTML editing
You can also use XPOR to process your uploaded image (once) at the point it is first viewed on a web page. XPOR can create a scaled version for you and therefore deliver that on the web page, often dramatically reducing the time required to load a web page.

This is achieved by setting the height and width of the image in HTML, using its' URL
For example, if you look at the HTML for this Help Resource, using the Advanced tab / HTNL tool, you can see amngst the html;
<img src="/img/1994/500/500" border="0" hspace="0" vspace="0" />
The original uploaded object image is ObjectId 1994. By adding in HTML the /500/500, XPOR will automatically create a new file on the web server that is 500 pixels x 500 pixels and will display it in accordance with the html.
If your source image is 400 x 200 then the /200/200 option will reduce the image to 200 x 100. The largest dimension is the control - and we maintain the images aspect ratio.
The Images Object Type
Like everything else in XPOR - Images are Objects. Image Objects have a property that links them to a "physical" image file - the picture file you uploaded. For example, if your Image was "flowers.jpg", you will see this file as a "child" of the Image object. In the event you optimise the image (as explained above) the image will generate a new physical file of the required size, stored on the server in the same location as the uploaded image. This re-sized file is not listed with the Image object - the Image object simply "knows" that it is there.