Help Resources
HTML Form
HTML Forms are forms rendered in HTML instead of Ext JS. They are used for creating a new Object in a certain location, For example a Registering User.
Setup
Once a HTML Form has been made in XPOR System Modeller the next step is to put it on a page. To do this Edit the HTML Form Atom and you will following settings:
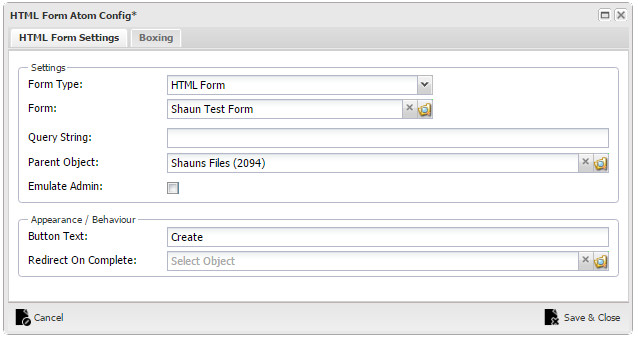
HTML Form Settings
Form Type: This is always HTML Form.
Form: This is where the user selects the form that needs to be displayed.
Query String: This is used if a variable is to be used from the web page URL. For example if the webpage URL is [WebpageURL]?exampleobject=123456. then the Query string would be "exampleobject", resulting in the root object being set to ObjectId = 123456. This is particularily useful if you need a page that needs to change its root, depending on the object of focus in the starting page.
Parent Object: The object that the new objects will be created under.
Emulate Admin: If ticked the object will be created as the systems administrator account.
Button Text: The text entered in this field will appear on the button at the bottom of the form, if empty the button will read "Save".
Redirect on Complete: The Webpage that the user is directed to when the creation of the object was successful.
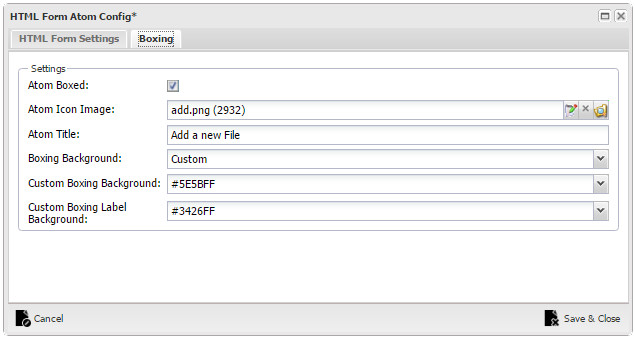
Boxing
Atom Boxed: When ticked the config below will take effect.
Atom Icon Image: The image that is rendered next to the Atom Title in a couloured label, if none selected the coloured label isnt rendered.
Atom Title: The text that is rendered above the form.
Boxing Background: There are 3 options for this dropdown: Background A, Background B and Custom. Background A and B are set in the Core Atom Theme under the Atom tab. Custom allows you to select custom colours from the folowing 2 fields.
Custom Boxing Background: The Colour of the Atom background (When custom boxing is selected).
Custom Boxing Label Background: The coulour of the label that the Icon is rendered in (When custom boxing is selected).
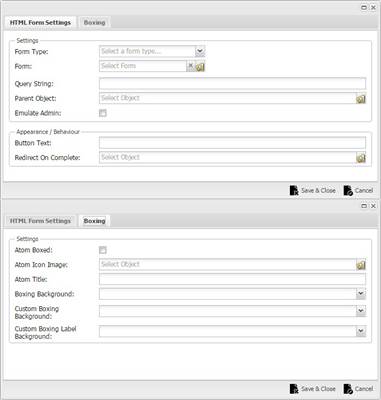
Example
Below is an example of an setup HTML Atom and how it looks when rendered.