
Help Resources
Email Overview
Email objects in XPOR are the core building blocks for any email you want to send. They store the subject, body, and formatting options, and can be reused over and over again. Because the content is saved in the system, you can send the same email to many recipients without re‑typing it each time. Because email objects are reusable, you can create a single template and use it for newsletters, alerts, or any other mass‑mailing need. This saves time and keeps your communications consistent across the organization.
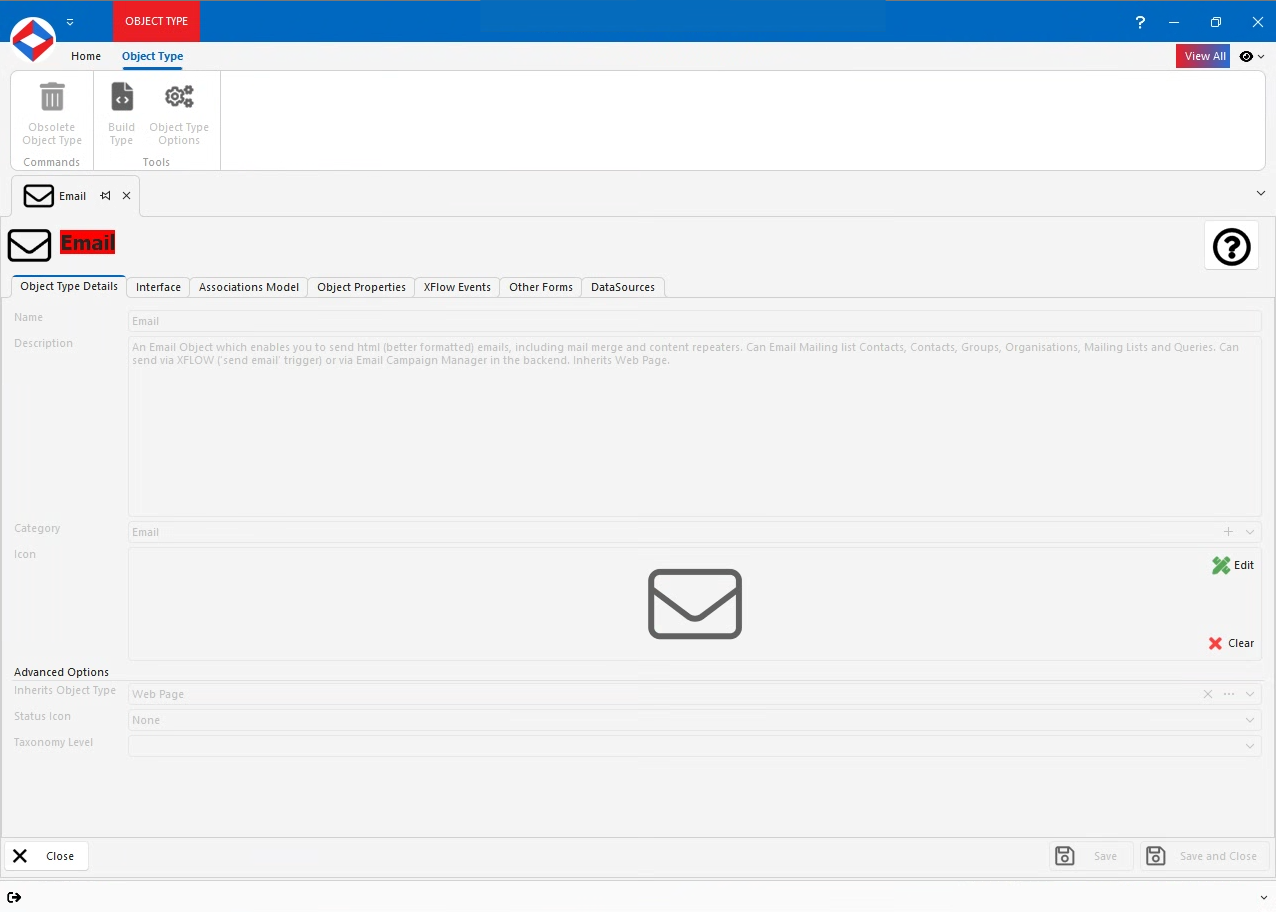
Email Properties
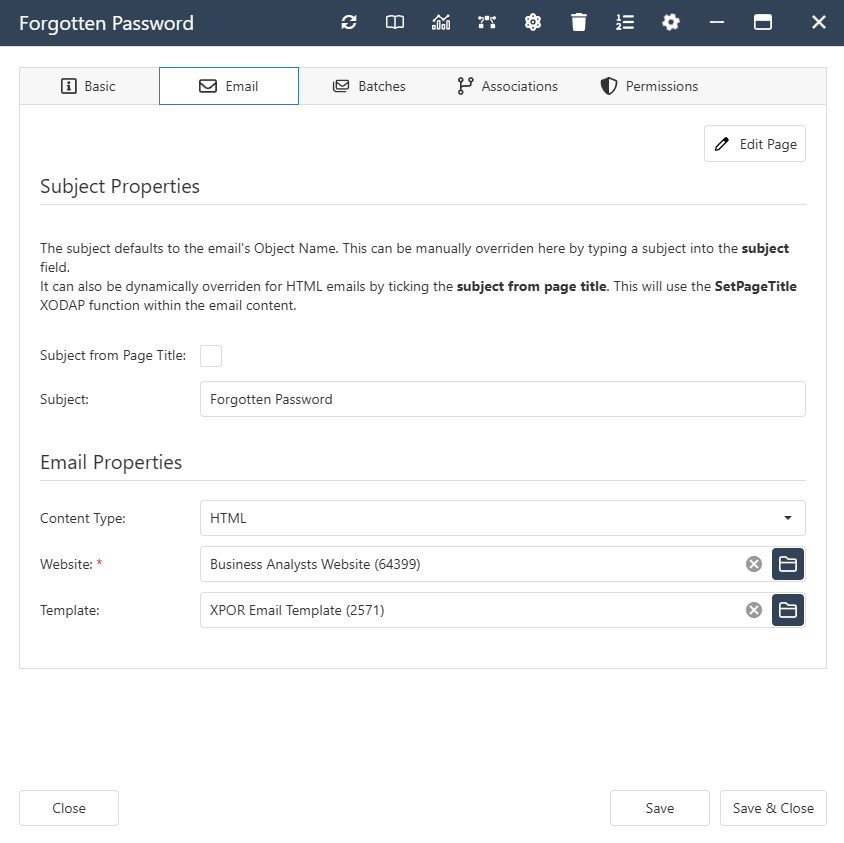
- Subject - Text Property.
- SubjectFromTitle - Boolean Property. If this box is checked then the email's subject will be set as the name of the email. You can use the "Set Page Title" function in the content of the email to set a merged subject from a passed in Object.
- Priority - Constant Set Property.
- Normal
- Low
- High
- Format - Constant Set Property.
- Plain Text
- HTML
- Simple HTML
- Content - Text Property.
- HtmlContent - Text Property.
- ManualWebSite - Website Object Property.
Click here to view the Properties and Subtables inherited from Webpage
Email Interface
Email Associations
- System -
- Contained By. Allowed Types - Calendar, Order Type, Forums Board, Marketing Campaign Email.
- Contains. Allowed Types - Image, Website, Webpage.
- Email -
- Emails Website. Allowed Types - Website.
- Password email for Group. Allowed Types - Group.
Click here to view the Associations inherited from Webpage