Dashboard Atom Configuration
The same as with any other Atom type a Dashboard Atom must be added to a Web Page Template object and then the Web Page Template is Associated to a Web Page. To see how to do this refer to the Help File System.
Setting up the Dashboard
Once you have created a Dashboard using XPOR System Modeller and have set up a Web Page with a Dashboard Atom you will need to plug the two together.
1. In the front end of the XPOR system, navigate to the Web Page that has the Dashboard Atom.
2. Enter Editor mode by clicking the Editor button in the top left of the page.
3. Click on the Dashboard Atom you need to configure. An empty Dashboard Atom is displayed as a grey bar with a cog on the right side of the bar (see below highlighted in red):
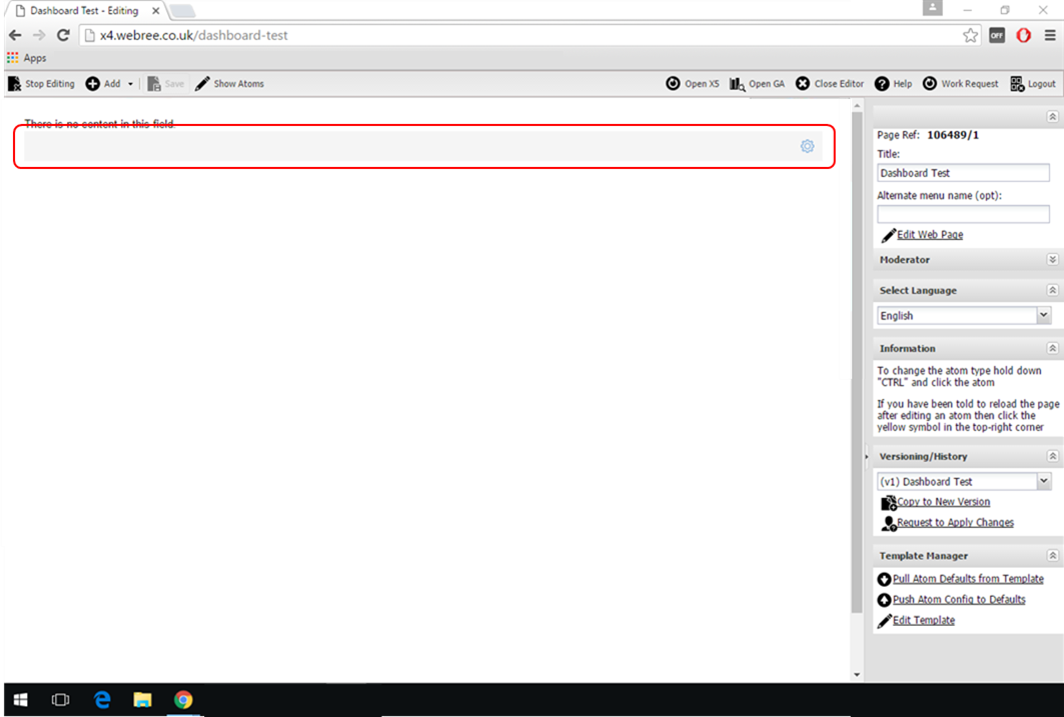
4. Now the Dashboard Atom Config window will open up. Click the Search button on the far right of this config to search the list of existing Dashboards in your system.
5. To choose the Dashboard you want; click on it to highlight it and then click the select button in the bottom right of the window. Then click the Save & Close button on the previous window.
6. To finish simply exit Editor mode using the 'Close Editor' button on the editor toolbar at the top of the page.
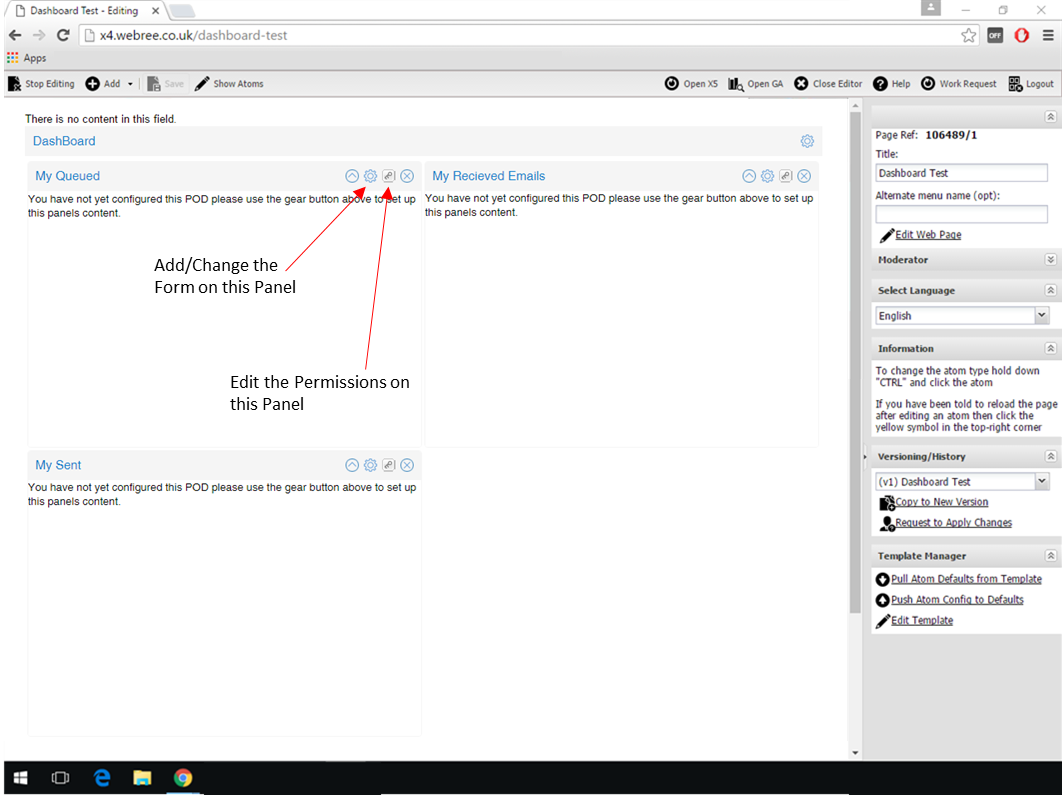
Changing/Adding Forms to the Panels
If you have added a new Dashboard that hasn't been used before you will also need to populate the Panels with their own Forms. Follow these steps to add or change the Form displayed in a Panel:
1. In the front end of the XPOR system, navigate to the Web Page that has the Dashboard.
2. Enter Editor mode by clicking the Editor button in the top left of the page and then when the editor toolbar opens up, click the 'Stop Editing' button in the top left of the page.
3. Now click the cog icon in the top right of a Panel you need to configure.
4. The Form Atom Config window will open up. First select the type of Form you wish to add to the Atom by using the 'Form Type' drop down.
5. Click the folder icon on the right of the 'Select Form' field to search the list of existing Form in your system of the type that you selected in step 4.
6. To choose the Form you want; click on it to highlight it and then click the select button in the bottom right of the window.
7. If you selected a form that contains a grid then you may also need to enter the source object for it's Data Source. To do this select the folder icon on the right of the Data Source field and navigate to the object you want to use as the root of this grid (the Data Source field is named after the grid as follows '"NAME OF GRID" - "DATA SOURCE TYPE"')
9. To finish click the Save & Close button on the Form Atom Config and then exit 'Editor mode' using the Close Editor button on the editor toolbar at the top of the page
Changing/Adding Permission to the Panels
If you have added a new Dashboard that hasn't been used before you will also need to set up the permissions for each of the Panels. Permissions can only be set on the Dashboard while in 'Edit Mode' on the specific Web Page in the front end of the XPOR system:
1. In the front end of the XPOR system, navigate to the Web Page that has the Dashboard.
2. Enter Editor mode by clicking the Editor button in the top left of the page and then when the editor toolbar opens up, click the 'Stop Editing' button in the top left of the page.
3. Now click the key icon in the top right of a Panel you want to change the permissions on. This will open the Permissions Editor Interface, to see how to use this see seperate Help Resourse.