Using a Dashboard
When a user first views a Dashboard it will be set up with the Panels in the same order they were set in Modeller. However there are several actions a user can carry out to personalise their own Dashboard, and every change a user makes to their Dashboard is automatically remembered for the next time they visit.
Collapsing and expanding Panels
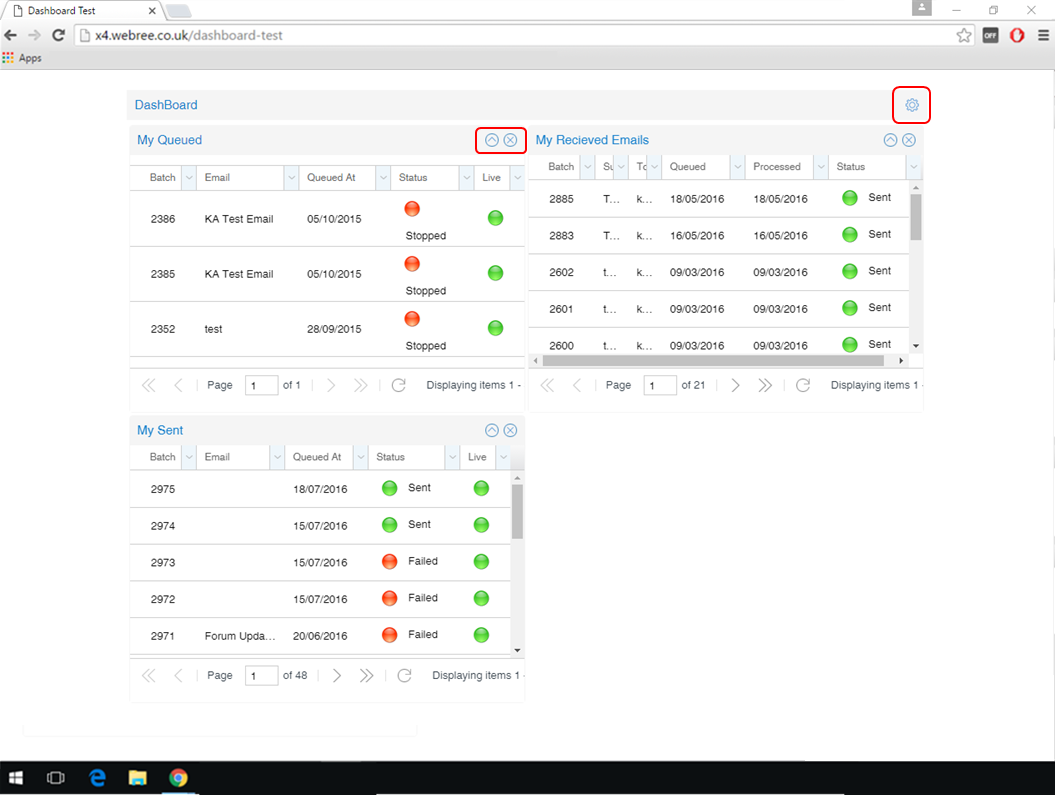
Any panel can be collapsed and expanded again, this is done using the arrow icon in the top right of a panel as highlighted in the image below.
Closing and reopening Panels
Panels can be only be closed and reopened by users if they have 'Is Optional' set to true in Modeller (see separate Help Resource for how to do this). A Panel can be closed using the cross icon in the top right of a panel (see image below), this will remove the Panel from the Dashboard. A closed Panel can only be reopened by clicking the cog in the top right of the Dashboard (see image below), this opens a list of all Panels in the Dashboard that are 'optional'. Once the list has opened, simply tick the boxes next to all the Panels that you wish to display in your Dashboard.
Moving/Rearranging Panels
Panels have a fixed height set in Modeller so they can't be resized, however, they can be moved. The default order of Panels is set in Modeller but users can change this order to suit their personal preference. To do this simply click and hold on the top title bar of a Panel and drag it into a different position. Panels can be dragged between different columns and can be swapped with other Panels.